Introduction to Wall Simple Birthday Decoration at Home:
Celebrating birthdays at home has become increasingly popular day by day, and one way to make the occasion truly special is by decorating the walls creatively, where the birthday party is held. These home decorations can include balloons, streamers, banners, paper crafts, pom poms, fabrics, and other creative decorating items arranged in a visually appealing manner to enhance the festive atmosphere of the celebration.
Wall decorations at home play a vital role in setting the tone for the celebration, infusing the room with vibrancy and excitement. Whether it’s a birthday for a girl, boy, anniversary, or any other special person, these wall decorations contribute to a festive atmosphere that enhances the overall experience.
In this article, we’ll explore 15 easy and joyful ideas for simple birthday wall decorations at home. Each idea comes with clear instructions, materials needed, DIY installation steps, and safety tips, making it perfect for anyone hosting a birthday party.
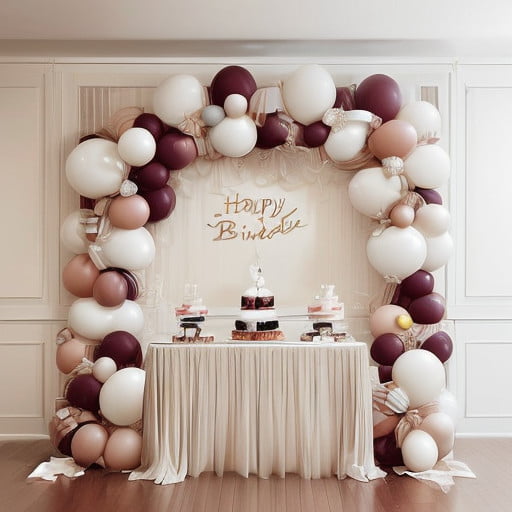
1. Magnificent Balloon Arch Creation:
Create a captivating atmosphere with a stunning balloon arch, ideal for birthday decoration ideas at home for a boy. This versatile and timeless decoration adds a touch of creativity and excitement to any celebration, perfect for a boy who appreciates imaginative decor.
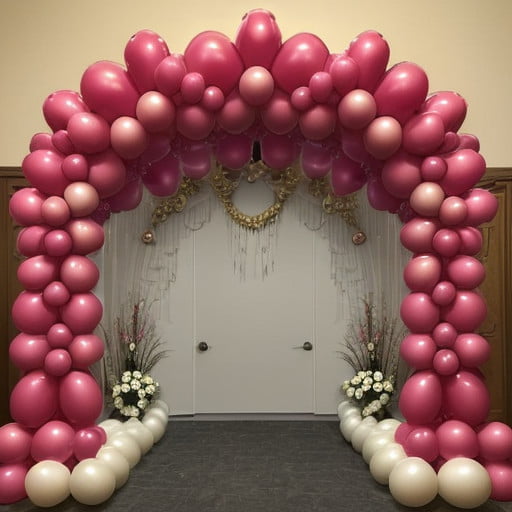
Materials:
Gather balloons in assorted colors, balloon tape, sturdy string, and, optionally, a helium tank for added buoyancy.
Placement:
The balloon arch is perfect for entryways, offering a grand welcome for guests. It can also be placed against a wall, serving as a beautiful backdrop for photos and a highlight of the party.
DIY Steps:
To create a balloon arch, inflate balloons to various sizes, then attach them to balloon tape, shaping it into a graceful arch. Span the desired area, secure it in place, and add any additional decorations for a festive touch. Enjoy the celebratory ambiance of your balloon arch at the birthday party.
Safety Consideration:
Ensure that the arch is installed securely to prevent accidental collapse or entanglement with guests.
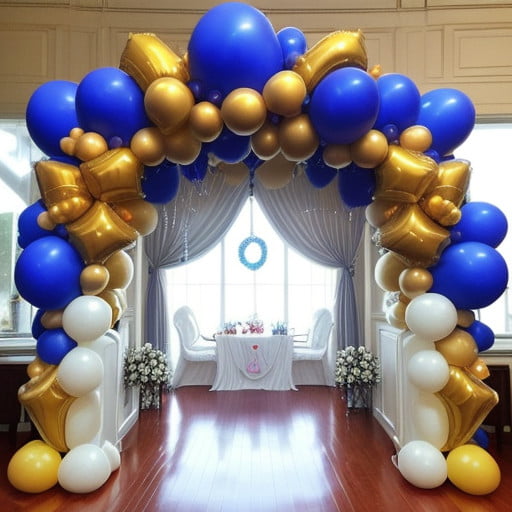
2. Vibrant Streamer Backdrop Creation:
Transform your party space with a vibrant backdrop made of colorful streamers. Perfect for infusing any birthday celebration with fun and vivacity.

Materials:
Gather an assortment of streamers in various colors, along with tape or thumbtacks for securing them to the wall.
Placement:
The streamer backdrop serves as an excellent focal point behind the main party area or photo booth, adding an energetic and celebratory ambiance to the space.
DIY Steps:
Begin by attaching one end of each streamer to the top of the wall using tape or thumbtacks, then allow them to hang vertically. Continue attaching streamers side by side, ensuring even spacing and desired length to create a full and vibrant backdrop.
Safety Consideration:
Be mindful of the placement of the streamers to avoid blocking exits or obstructing walkways, and ensure that they are securely attached to prevent them from falling during the celebration.
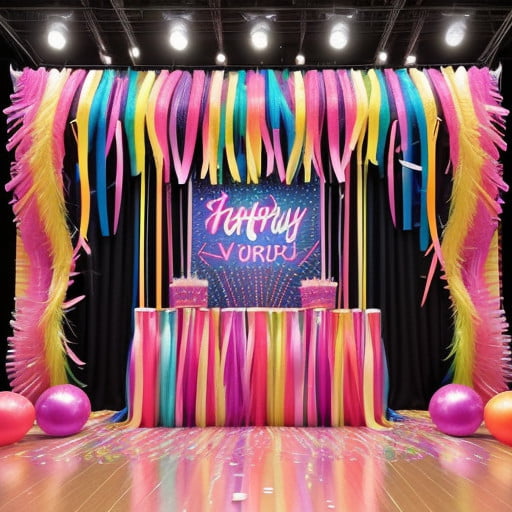
3. Enchanting String Lights Display:
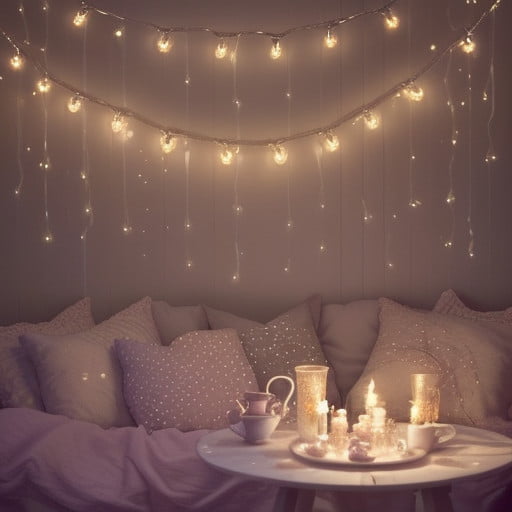
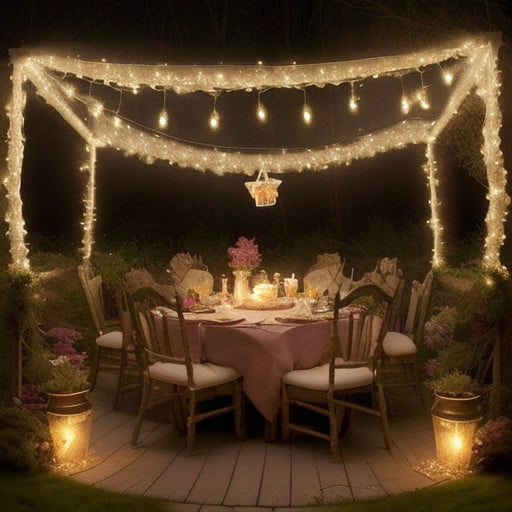
Add a cozy and magical touch to your Wall Simple Birthday Decoration at Home with twinkling string lights hung creatively on the wall. Perfect for creating a whimsical wonderland, this charming addition adds warmth and enchantment to the party, delighting guests of all ages.
Materials:
Gather string lights in your desired length and style, along with adhesive hooks or tape for securing them to the wall.
Placement:
Arrange the string lights on the wall in desired patterns or shapes, strategically placing them to accentuate key areas of the party space and enhance the overall ambiance of the celebration.
DIY Steps:
To set up string lights, first decide where you want to hang on the wall, thinking about height and spacing. Use adhesive hooks or tape to secure them evenly and securely. Get creative with different arrangements to make a captivating display that dazzles your guests. You can also try hanging string lights above the party area for added charm and security.
Safety Consideration:
Securely attach string lights to the wall to prevent falls or tangles. Use adhesive hooks or tape for walls and avoid overloading outlets. Additionally, be mindful of any tripping hazards posed by the string lights and ensure they are placed out of reach of children and pets.
4. Elegant Paper Flower Wall Decor:
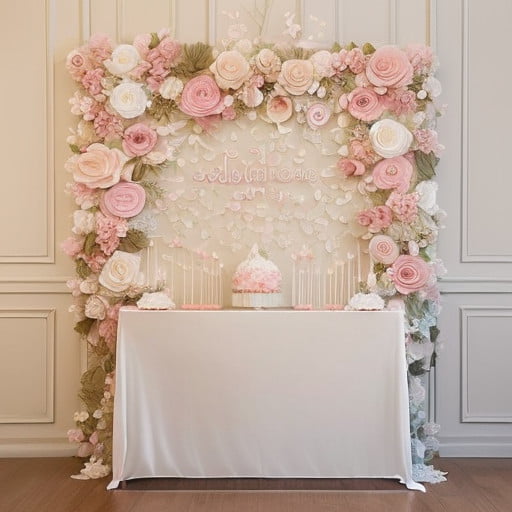
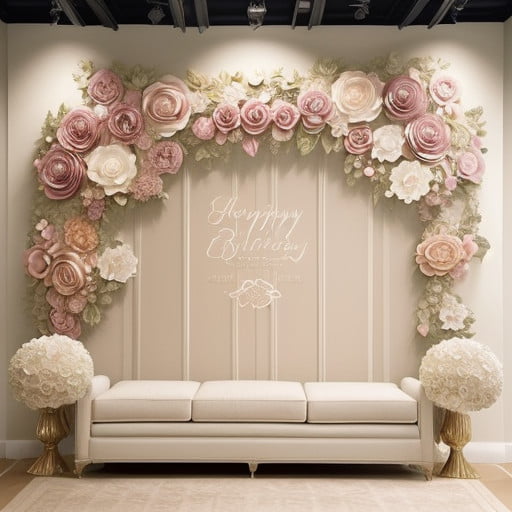
Elevate your party ambiance with an exquisite display of handcrafted paper flowers, ideal for birthday decoration ideas at home for a girl. Whether it’s for a backdrop for a party celebration back wall or to add a feminine touch, this decorative accent exudes charm and sophistication, perfect for celebrating the birthday of a special girl who appreciates beauty and elegance.
Materials:
Gather colored paper in assorted hues, along with scissors, glue, and tape, for crafting the paper flowers.
Placement:
The paper flower wall serves as a stunning backdrop for the party space, creating a whimsical and enchanting atmosphere that captivates guests’ attention.
DIY Steps:
Begin by cutting out flower shapes from colored paper, varying sizes, and designs to add depth and dimension. Fold and assemble each paper flower, carefully shaping the petals and securing them with glue. Once crafted, arrange the paper flowers on the wall in a desired pattern, ensuring cohesive placement and spacing.
Safety Consideration:
When sticking the paper flowers to the wall, use removable adhesive tape or putty to prevent damage. Make sure the wall is clean and dry for a secure hold without leaving residue.
5. Dynamic Confetti Wall Decor:
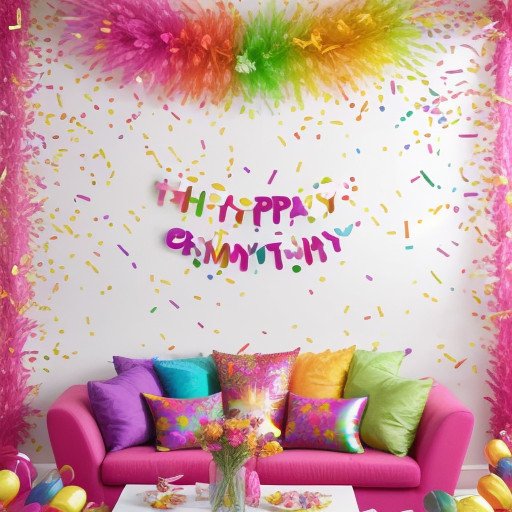
Transform your wall simple birthday decoration at home into a jubilant haven with a vibrant wall adorned in colorful confetti. This festive accent adds a playful and celebratory vibe to any birthday gathering, infusing the atmosphere with joy and excitement.
Materials:
Gather a generous amount of confetti in assorted colors and shapes, along with double-sided tape for securing it to the wall.
Placement:
The confetti wall serves as a vibrant backdrop for the festivities, whether in the living room or drawing room, instantly elevating the party space and creating the perfect ambiance for a memorable celebration.
DIY Steps:
Begin by applying strips of double-sided tape to the wall in the desired area, ensuring even spacing and coverage. Once the tape is in place, gently sprinkle the confetti over it, allowing it to adhere and create a dazzling display of color and movement.
Safety Consideration:
When using double-sided tape for the confetti wall, be careful of the surface to avoid damage or residue. Also, avoid high-traffic areas to prevent accidental displacement.
6. Chic Ribbon Wall Design:
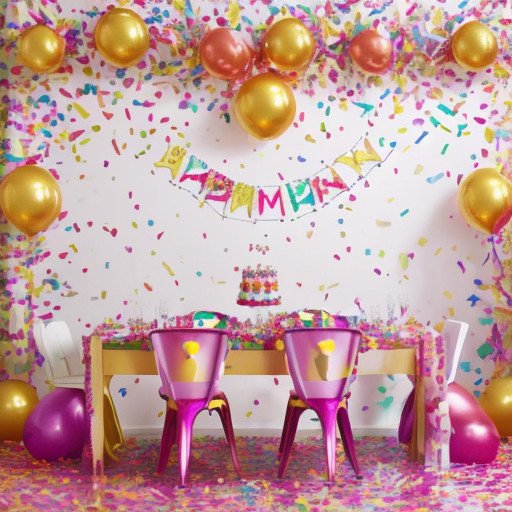
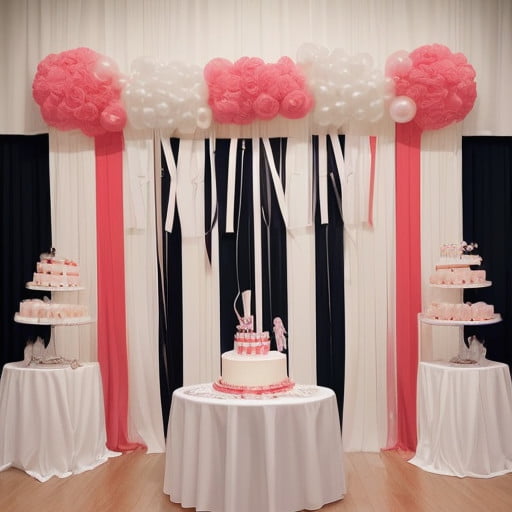
Elevate your party décor with a sophisticated ribbon wall, where Simple Birthday Decoration for the Wall at Home features ribbons arranged vertically or horizontally to create a captivating visual display. This elegant and versatile accent adds a touch of refinement to various birthday themes, lending an air of charm and sophistication to the celebration.
Materials:
Gather an assortment of ribbons in different colors, textures, and widths, along with tape or thumbtacks for securing them to the wall.
Placement:
The ribbon walls serve as a stylish backdrop for the party space, enhancing its aesthetic appeal and creating a focal point that effortlessly complements the overall décor scheme.
DIY Steps:
Create a chic ribbon wall design by cutting ribbons to desired lengths, incorporating variations in size and texture for visual interest. Attach the ribbons to the wall using tape or thumbtacks, allowing for different patterns, styles, shapes, or a random arrangement. For added flair, consider placing a balloon arch in front of or above the ribbon wall.
Safety Consideration:
When putting up ribbons, use gentle adhesive tape or removable hooks to protect the wall. Make sure the ribbons are securely fastened to prevent them from loosening or tangling during the celebration.
7. Whimsical Hanging Pom Poms:
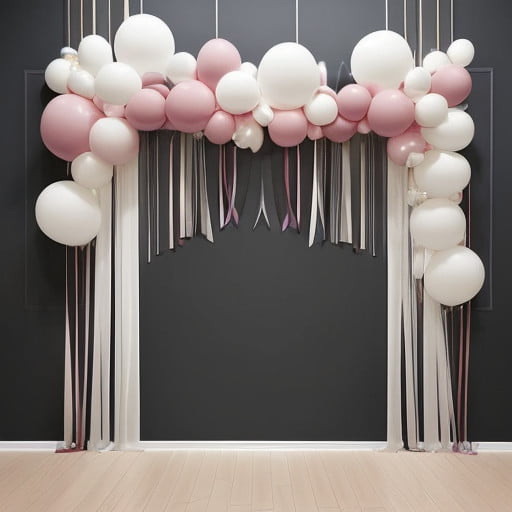
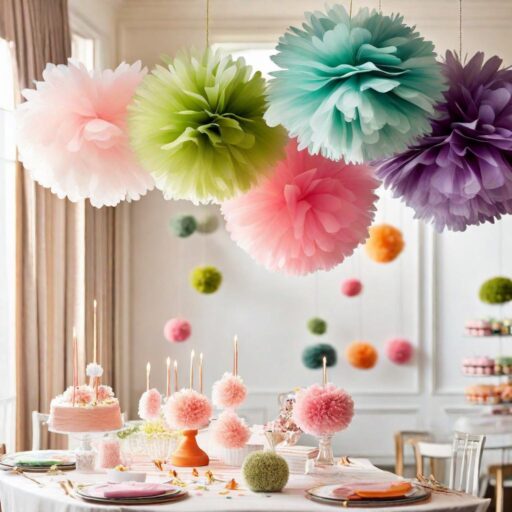
Add a touch of whimsy to your birthday bash with fluffy pom poms hanging from the ceiling or strung along a string. This fun addition brings a playful vibe to the party, perfect for celebrating with friends, family, or anyone who loves a good time.
Materials:
The materials typically used for making pom poms include tissue paper or crepe paper, scissors, string or fishing line, and sometimes a cardboard template for shaping the pom poms.
Placement:
Hang the pom poms from the ceiling or along a string to create a captivating visual display that enhances the celebratory ambiance of the party space.
DIY Steps:
Begin by folding the tissue paper or crepe paper accordion-style, then tie it in the middle with a piece of string. Once secured, gently fluff out the layers of tissue paper to create a full and fluffy pom pom. Repeat this process with additional tissue paper to create multiple pom poms of varying sizes, designs, and colors. Finally, hang the pom poms from the ceiling or string at desired intervals, securing them in place with tape.
Safety Consideration:
When hanging the pom poms from the ceiling, ensure they are securely attached to prevent them from falling during the celebration. Use removable adhesive hooks or clips to avoid causing damage to the ceiling surface.
8. Trendy Washi Tape Patterns:
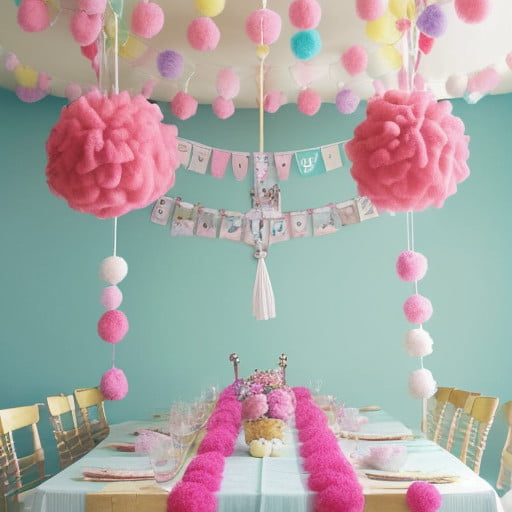
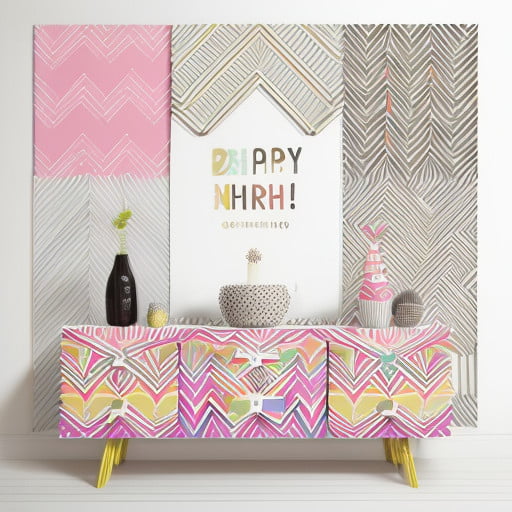
Infuse your birthday celebration with a touch of modernity and flair by incorporating decorative patterns created using colorful washi tape. This trendy accent adds a contemporary vibe to any party decor, making it suitable for minimalist or contemporary birthday themes.
Materials:
Gather an array of washi tape in various colors and patterns, ensuring they complement the desired aesthetic of the party space.
Placement:
Adorn the walls with geometric shapes, stripes, or other patterns using washi tape to create a visually captivating backdrop that enhances the overall ambiance of the celebration.
DIY Steps:
Begin by selecting a design or pattern for the washi tape decoration, considering the desired aesthetic and theme of the party. Next, carefully apply the washi tape directly onto the wall, creating crisp lines and shapes to achieve the desired effect. Experiment with different colors and patterns to create a dynamic and eye-catching display.
Safety Consideration:
When using washi tape, ensure it sticks without damaging the wall. Apply gently to avoid tearing or residue. Consider a removable adhesive putty or tape for easy repositioning.
9. Rustic Fabric Banner Creation:
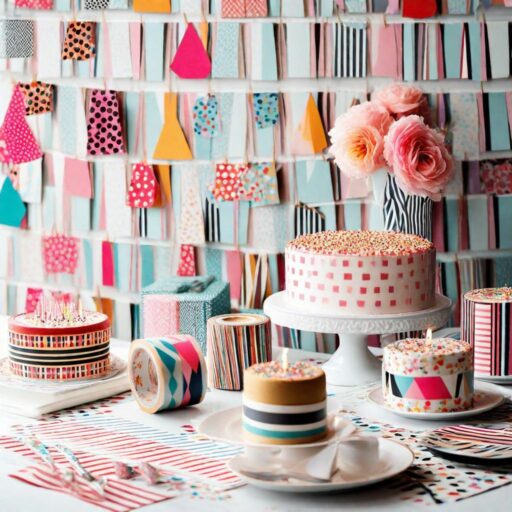
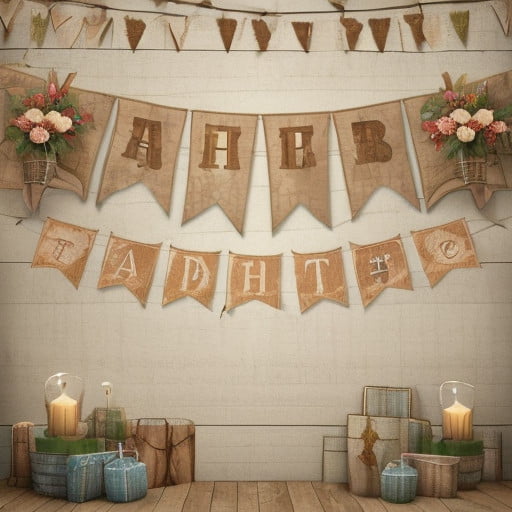
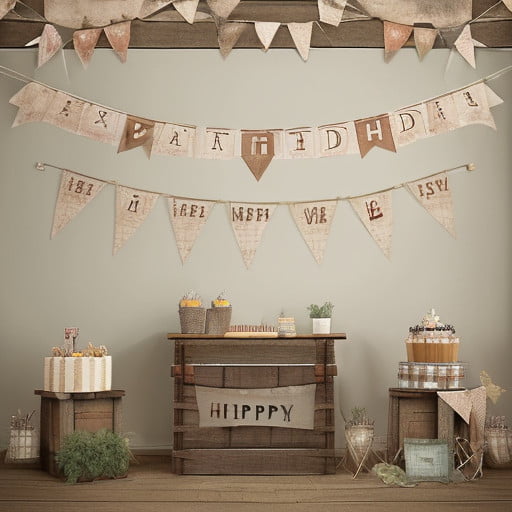
Add rustic charm to your birthday decoration ideas at home with a fabric banner made from triangles, squares, or rectangles strung together. This delightful accent brings warmth and nostalgia to the celebration, making it perfect for adding rustic charm to any birthday party.
Materials:
Gather fabric scraps in assorted colors and patterns, twine or string, scissors, and glue for crafting the fabric banner.
Placement:
Hang the fabric banner across the party space to create a whimsical and inviting atmosphere that complements the rustic theme of the celebration.
DIY Steps:
Begin by cutting the fabric into triangles, squares, or rectangles of the desired size, ensuring variation in color and pattern for visual interest. Fold over the top edge of each fabric piece and secure it to the twine or string using glue or by sewing it into place. Repeat this process with additional fabric pieces, spacing them evenly along the twine or string to create a cohesive banner.
Safety Consideration:
When hanging the fabric banner, secure it well to prevent falls. Use removable adhesive hooks to avoid wall damage.
10. Interactive Chalkboard Wall Design:
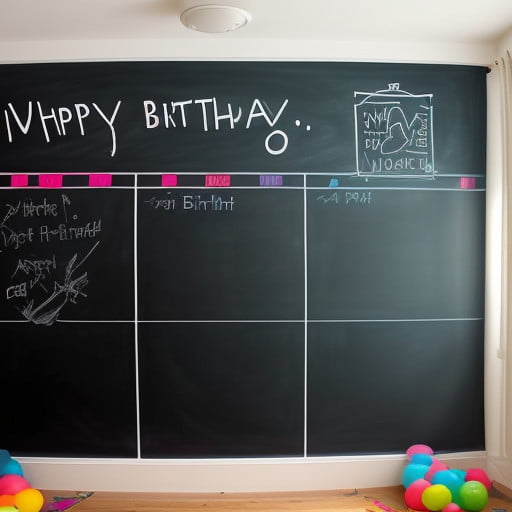
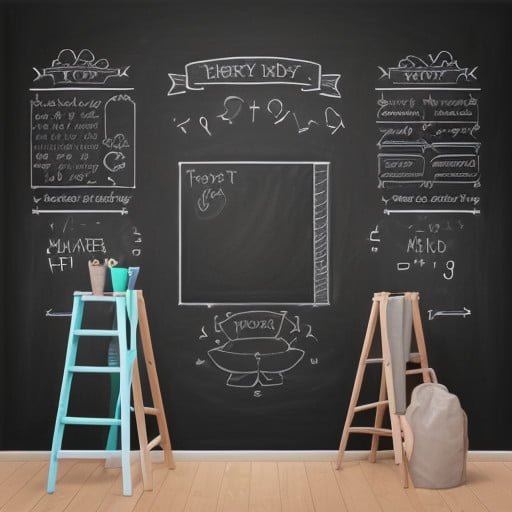
Enhance your simple birthday decoration for the wall at home with an interactive touch, by creating a wall painted with chalkboard paint. Suitable for all ages, this creative addition allows guests to unleash their creativity by drawing or writing messages directly on the wall, adding a personalized and enjoyable element to your celebration.
Materials:
Gather chalkboard paint, a paintbrush, and chalk for decorating the chalkboard wall.
Placement:
Designate a section of the wall to be painted with chalkboard paint, creating a designated space for guests to engage in interactive activities and leave their mark on the celebration.
DIY Steps:
Begin by painting the selected section of the wall with chalkboard paint using a paintbrush, ensuring smooth and even coverage. Leave the paint to dry completely for a few hours or as per the manufacturer’s instructions. Once dry, use chalk to decorate the chalkboard wall with drawings, messages, or doodles, encouraging guests to express themselves creatively.
Safety Consideration:
When using chalkboard paint, ensure good ventilation and follow the safety instructions. Watch out for nearby furniture to avoid splatters. Keep chalk and erasers in a designated spot for easy access and to prevent clutter.
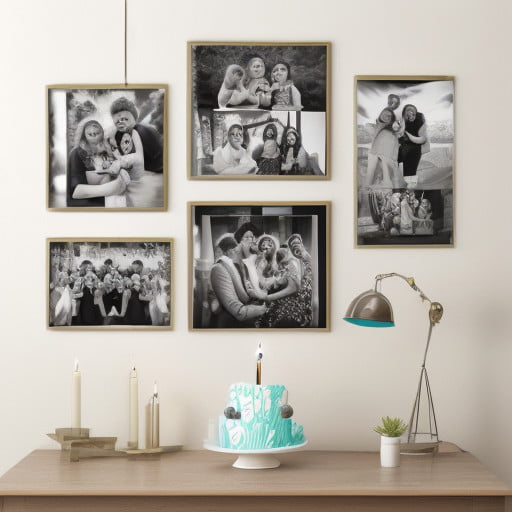
11. Memorable Photo Collage Wall:
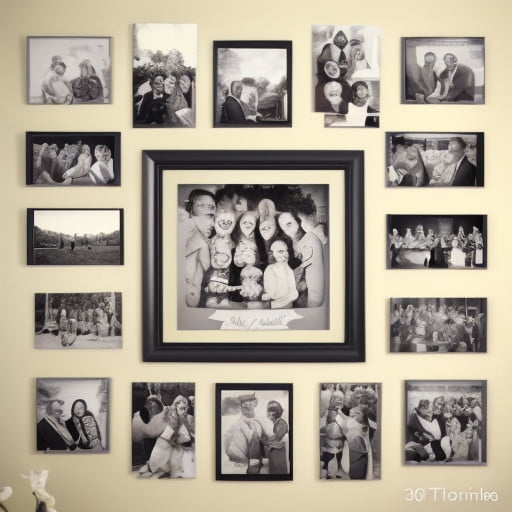
Create a heartwarming photo collage filled with cherished memories, perfect for simple birthday decoration ideas at home, especially for significant milestone birthdays like 18, 21, 30, 40, 50, or 60. This personalized décor adds sentimental value and enhances the festive atmosphere, making it a meaningful addition to any milestone celebration.
Materials:
Gather printed photos capturing special moments, along with tape or adhesive putty for attaching them to the wall.
Placement:
The photo collage wall serves as a focal point in the party area, evoking nostalgia and sparking conversations among guests as they reminisce over shared experiences.
DIY Steps:
Begin by arranging the photos in a visually appealing manner, considering factors such as color balance and thematic coherence. Attach each photo to the wall using tape or adhesive putty, ensuring they are evenly spaced and aligned for a cohesive look.
Safety Consideration:
When attaching photos to the wall, use gentle adhesive putty or removable tape to prevent damage to the wall surface. Avoid placing the collage in high-traffic areas to minimize the risk of accidental damage or displacement.
12. Versatile Wall Decals Decor:
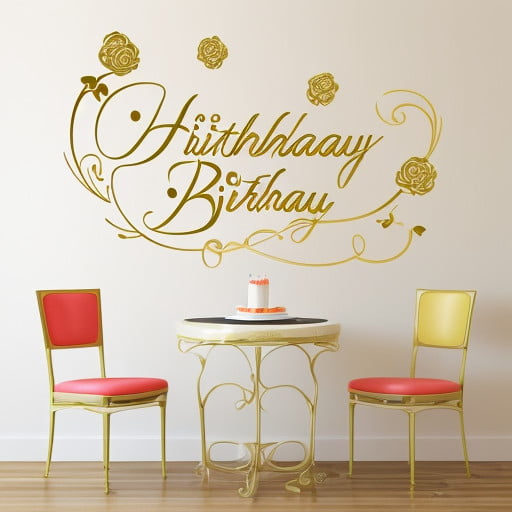
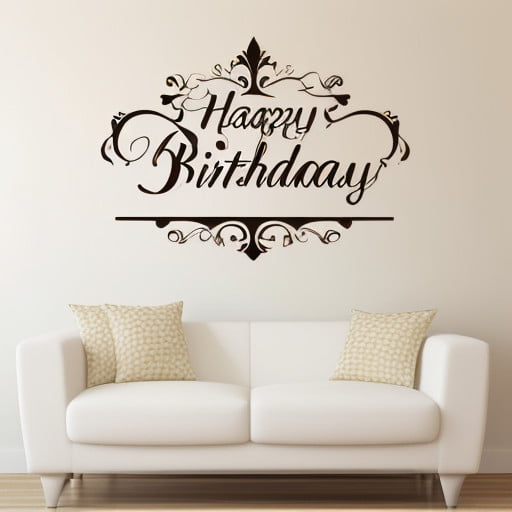
Enhance your birthday celebration with wall decals, and versatile vinyl stickers with endless design options. Whether you prefer whimsical or sophisticated styles, these decals add charm and personality to your party space, letting you customize the ambiance to match your desired theme, suitable for any birthday celebration.
Materials:
Gather wall decals or stickers in your preferred designs, along with a squeegee for smooth application.
Placement:
Apply the wall decals directly to the wall, strategically placing them in different patterns and styles to enhance the overall aesthetic of the celebration and complement other décor elements.
DIY Steps:
Begin by peeling off the backing of the wall decal, revealing the adhesive side. Carefully apply the decal to the desired location on the wall, using a squeegee to smooth out any air bubbles and ensure a seamless application. Repeat this process for additional decals, layering them to create a visually captivating display that enhances the theme of the celebration.
Safety Consideration:
To apply wall decals, start with a clean, dry wall to help them stick well. Avoid textured surfaces for better quality. Place the decals carefully to prevent peeling or damage during the celebration.
13. Cheerful Tassel Garland Creation:
Add a playful charm to birthday decorations for the wall at home with a colorful tassel garland. Perfect for creating a festive atmosphere, this delightful accent infuses your celebration with whimsy, delighting guests of all ages and making it suitable for anyone’s birthday.
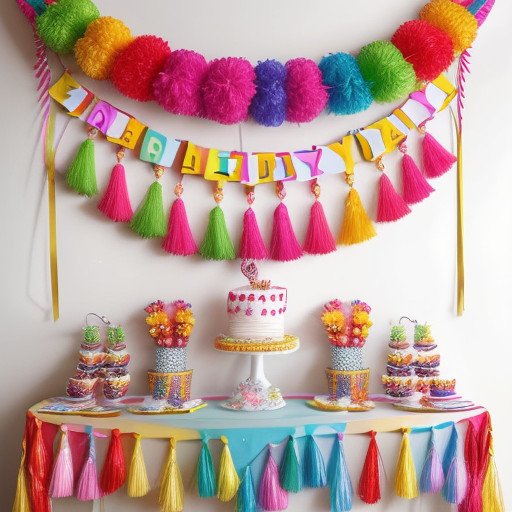
Materials:
Gather tissue paper, yarn, or fabric in assorted colors, sturdy string, scissors, and glue for crafting the tassels and assembling the garland.
Placement:
Hang the tassel garland across the party space to create a vibrant and eye-catching display that enhances the overall ambiance of the celebration.
DIY Steps:
Begin by cutting the tissue paper, yarn, or fabric into strips of equal length and width. Next, fold each strip in half lengthwise and twist the folded end to create the tassel. Secure the twisted end with a dab of glue to hold it in place. Once all the tassels are crafted, string them onto the sturdy string, spacing them evenly to create a cohesive garland.
Safety Consideration:
When making a tassel garland, use a strong string to hold the tassels securely. Hang it with removable hooks or tape to avoid wall damage. Watch for low-hanging tassels to prevent tripping during the celebration.
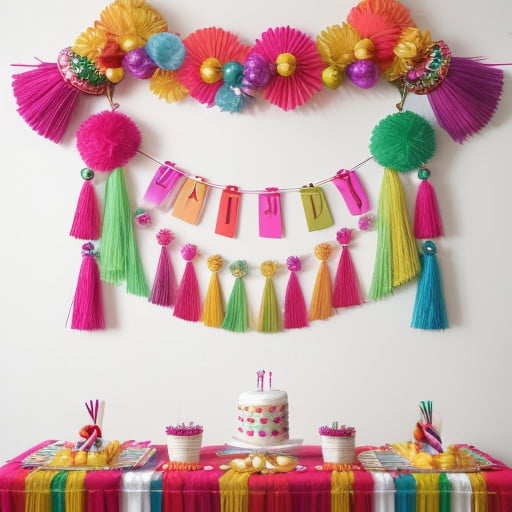
14. Customized Name Banner Creation:
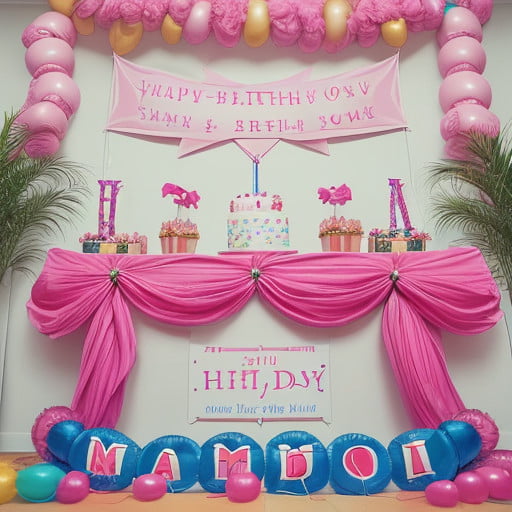
Elevate the birthday celebration with a personalized touch by creating a banner displaying the name of the birthday person. This special accent adds a sense of significance and uniqueness to the festivities, making the birthday individual feel cherished and celebrated.
Materials:
Gather cardstock or felt in the desired color, sturdy string, markers, or paint for decorating the letters.
Placement:
Hang the personalized name banner in a prominent location within the party space, ensuring it serves as a focal point that draws attention and conveys the celebratory message.
DIY Steps:
Begin by cutting out letters from the cardstock or felt, ensuring they are large enough to be easily visible from a distance. Decorate each letter as desired using markers or paint, adding embellishments or designs to enhance their visual appeal. Once decorated, string the letters together onto the sturdy string, ensuring they are evenly spaced and aligned to spell out the name.
Safety Consideration:
Hang the personalized name banner with wall-friendly adhesive hooks or tape to avoid damage. Secure it well to prevent falls during the celebration. Watch for low-hanging parts to prevent accidental bumps from guests.
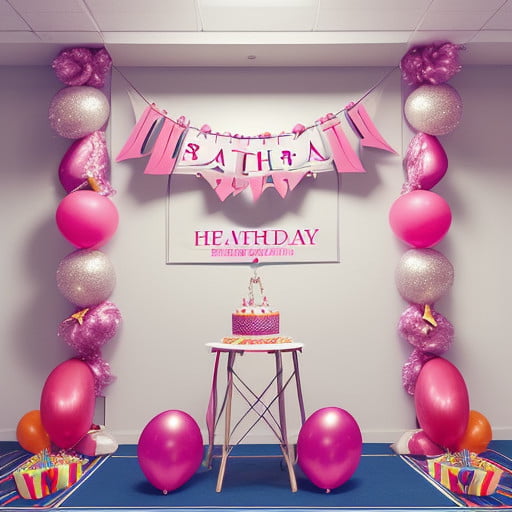
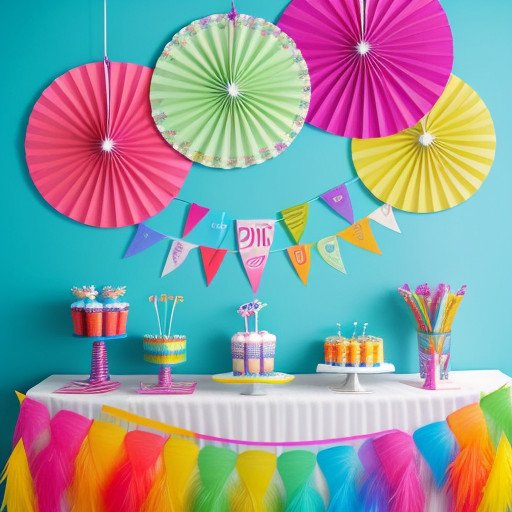
15. Vibrant Hanging Paper Fans:
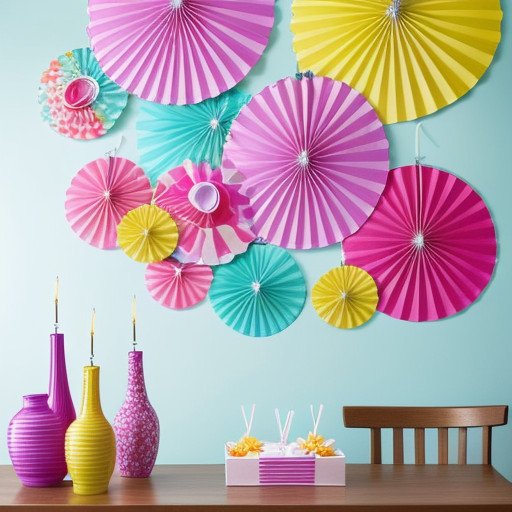
Add a dynamic touch to your simple birthday decoration for the wall at home with colorful paper fans hanging from the ceiling or wall. This eye-catching decoration brings a playful vibe to the party, captivating guests of all ages and making it perfect for anyone’s birthday.
Materials:
Gather colored paper in assorted hues, sturdy string, glue, and scissors for crafting the paper fans.
Placement:
Hang the paper fans strategically throughout the party space to create a visually stunning display that complements the celebratory theme.
DIY Steps:
Start by folding colored paper accordion-style for the fan shape, keeping the folds even. Secure the folded paper in the middle with glue or tape. Gently fan out the folds for the desired shape. Attach string to the center for hanging, ensuring it’s secure. Repeat with more paper fans in different sizes and colors for a captivating display.
Safety Consideration:
Securely hang paper fans to prevent falls during the celebration. Use removable adhesive hooks or tape to avoid wall damage. Watch for low-hanging fans to prevent accidental bumps from guests.
How to Remove The Decorations Items ?:
Ensure hassle-free cleanup with the following tips for removing wall simple birthday decoration at home.
1. Gather Supplies:
Take scissors, adhesive remover, and a cleaning cloth.
2. Remove Wall Decorations:
Carefully peel off decals, tape, or hooks from the wall.
3. Clean Surfaces:
Wipe the walls with a damp cloth to remove any residue.
4. Take Down Hanging Decor:
Remove string lights, paper fans, garlands, or other decorating items from the ceiling or walls.
5. Address Residue:
Use adhesive remover to clean-up any sticky spots left behind.
6. Store Items:
Fold and store decorations, like banners and garlands, for future use.
7. Restore the Space:
Return furniture to its original position and tidy up any remaining clutter.
8. Enjoy the Memories:
Reflect on the joyous celebration while appreciating the clean and organized space.
Conclusion:
In conclusion, this blog post has provided you with 15 easy and delightful ideas for wall simple birthday decoration at home. Each idea includes clear descriptions, suggested themes, necessary materials, placement guidance, step-by-step instructions, and safety tips. Whether you’re celebrating your birthday or organizing a party for a loved one, these ideas offer a range of options to suit various preferences and styles. This post aims to inspire you and help you create a memorable and enjoyable birthday celebration in the comfort of your own home.
FAQs:
1. Can I use these decoration ideas for other events besides birthdays?
Absolutely, while these ideas are tailored for birthday celebrations, many of them can be adapted for other events like anniversaries, baby showers, or holiday parties.
2. Are these decorations suitable for all types of walls?
Yes, most of these decorations can be applied to various wall surfaces including painted walls, wallpaper, or even temporary partitions. Just ensure you follow the proper guidelines for each decoration to prevent damage.
3. Can I reuse the decorations for future parties?
Yes, many decorations such as balloons, streamers, pom poms, fabrics, and banners can be reused if stored properly.
4. How do I ensure the decorations stay in place?
Use strong adhesive tape or hooks designed for walls, and avoid using heavy decorations that could fall.
5. Can I customize the decorations to match a specific theme?
Absolutely! Feel free to customize colors, patterns, and designs to suit your desired theme.
6. Are these decorations suitable for outdoor parties?
For outdoor parties, opt for decorations like balloon arches, streamer backdrops, hanging pom poms, and string light displays.
7. How far in advance should I start decorating for a party?
It’s best to start decorating a few days before the party to ensure everything is set up properly.
8. How long do these decorations typically last?
The lifespan of decorations varies depending on materials used and environmental factors, but they should last throughout the party.
9. Are there any decorations that are particularly difficult to make?
Some decorations, such as intricate paper flowers or elaborate backdrops, may require more time and skill to create.
10. What should I do if I accidentally damage the wall while decorating?
Repair minor damage with wall putty or paint, and consider using removable decorations in the future to prevent further damage.

